3D Printing
I’d always wanted a 3d printer. This past winter I picked up an older Ender 3 Pro printer from 2018 at Micro-Center for $99 and have been having way too much fun downloading models, experimenting with filaments and troubleshooting technical issues. Actually, it’s been so fun that I recently purchased a second printer to increase my productivity and keep up with my curiosity.
After purchasing my Ender 3 Pro, I spent a couple evenings assembling the printer with my 12 year old daughter. Though the instructions included in the box weren’t bad, we ended up resorting to a YouTube video for guidance on assembly, which was super handy. Once we got the printer set up we were excited to hit the ground running. We spent some time on the MakerBot Thingsverse website looking at 3d models (all of the models below are compliments of Thingsverse). Prior to printing we ran the models through software called Ultimaker Cura - a program that determines how the printer prints the model. It includes layering the model, temperature, speed and a number of other attributes which effect quality and is sometimes custom to the particular filament
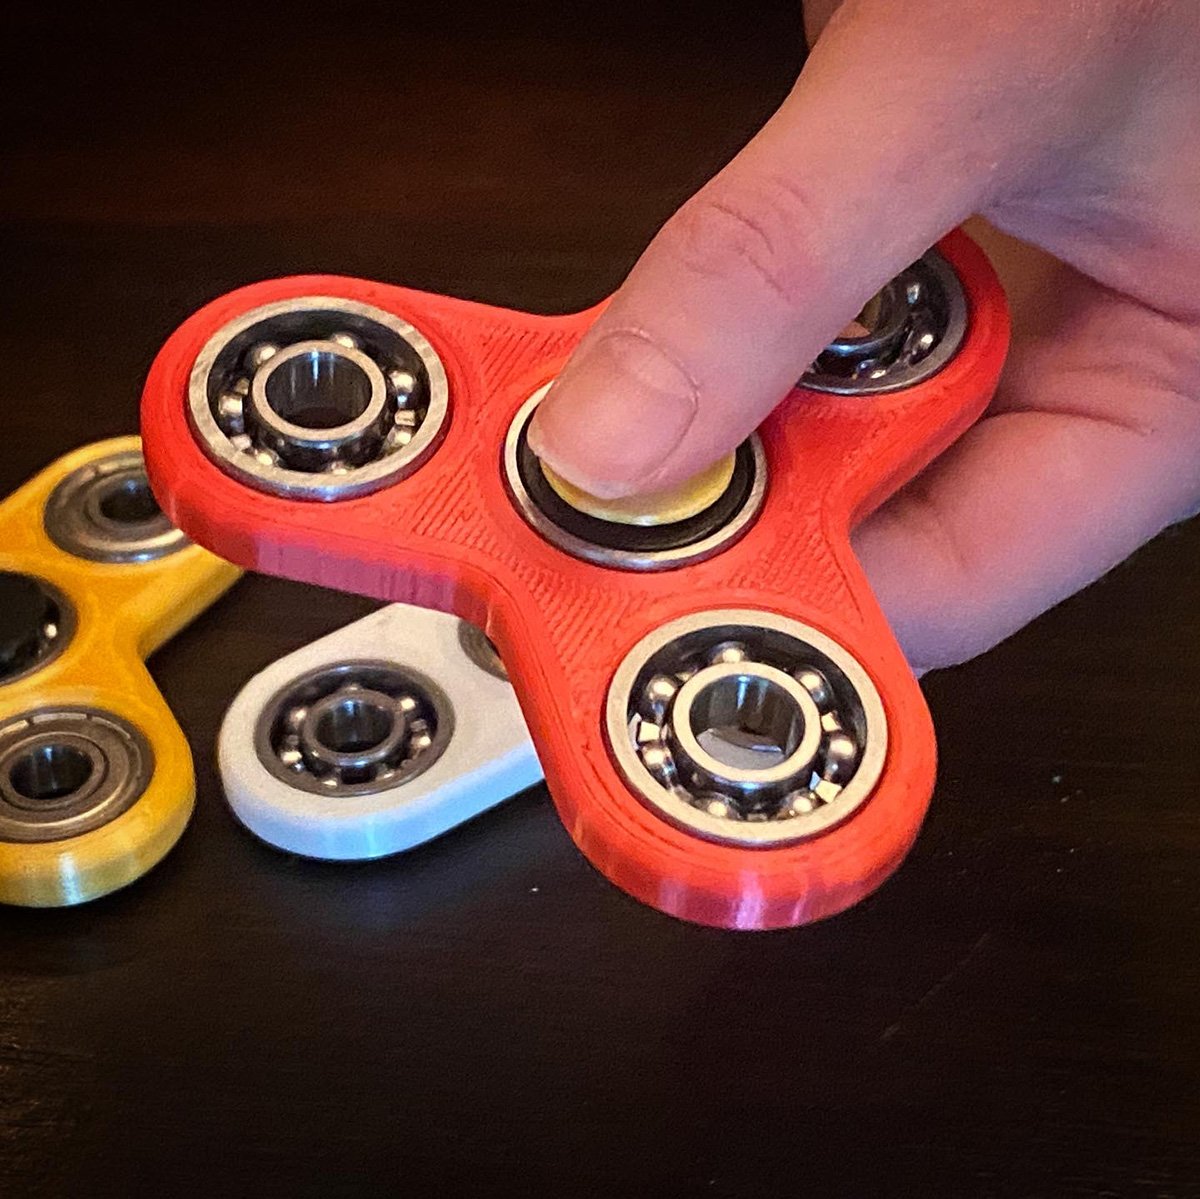
After getting used to my 3d printer I started printing out fidget spinners. Like all of my prints, I've been downloading the models from Thingverse and getting additional instructions on how to print each item. These fidgets required me to purchase 608 Fidget Spinner Bearings off of Amazon

The lovely cat fidget spinner has been in high demand by my all of my followers. ;)

The fidgets have been a nice way of experimenting with different color combinations and bearings.

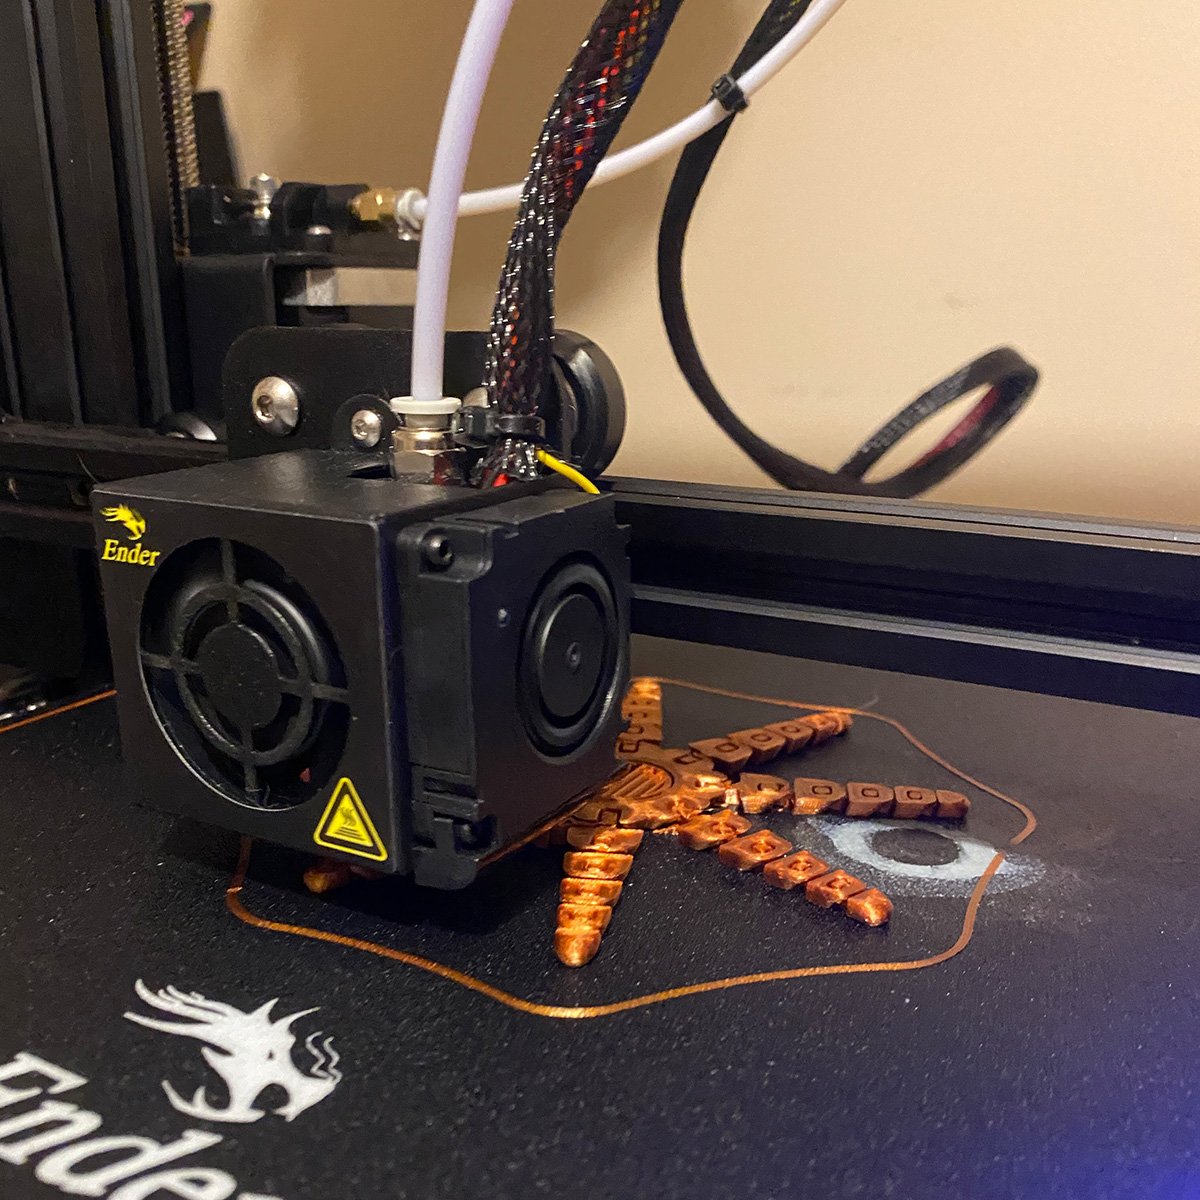
Mass production of some fidget spinners. This is a print that is well over 10 hours. At first I only printed out one fidget at a time but through a 3d "layering" program called "Cura" I was able to duplicate the model so I could print out many items at once.

Action shot of my two Ender 3 printers. When we first purchased my first Ender 3 Pro I spent a couple evenings assembling the printer with my 12 year old daughter. Though the instructions included in the box weren’t bad, we ended up resorting to a YouTube video on how to assemble which was super handy for a couple of the details. Once we got the printer set up we were pretty excited to hit the ground running.

I was informed of a print going around my youngest daughters middle-school called the “Rocktopus” which is basically Duane Johnsons head (the Rock) on top of eight tentacles. These are great and I’ve ended up printing up many of these Roctopi over the past few months. I'll give you one if you want, just ask.

Here are a few more color variations of the Roctopus. Once again, they're good fun.
Another action shot of a Roctopus print in the works. I have my printing set up in a way where the printer takes a few passes around the item that is printed to make sure that the bed is level with the nozzle. If the nozzle is too close it gets jammed and doesn't print. If it's too far away you get spaghetti. So there is a level of calibration needed with each printer. The benefit of a newer printer is that it calibrates on its own which would most likely save quite a bit of time.

Sometimes things don't always work out. Maybe the bed isn't level or the filament isn't melting as hot as it should. It takes some time to sort out some of these issues. I'd say most people who have experimented with 3d printing has had issues with their print turning to spaghetti for one reason or another.

Here are a couple of prototypes of the game Tak. I experimented with different color filament along with sizes. The small version was super cute however the pieces weren't able to stack very well. The larger version was still very portable and the pieces stacked as expected.

Here is the final print of the game Tak. I do like the combination of the more metallic colors. When printing with the metallic filament you need to make sure to get a more durable nozzle that can handle the non-standard filament. IE, it wore out my default nozzle quickly.

Here are a couple of prototypes of candy machines. We hot glued a "Bell" jar to the top of the machine...it's cool because you can easily add candy and screw the jar onto the machine.

Here is a final machine. Skittles and Jelly Bellies work really great for this machine. It took well over 30 hours to print this machine out, but it was well worth it. They look great with multiple color filament for each of the five parts needed to print out the entire machine.

For fun, I printed out a stormtrooper container. It was probably a 20 hour print and there were seven pieces to it. I glued the black pieces on with Gorilla Glue.
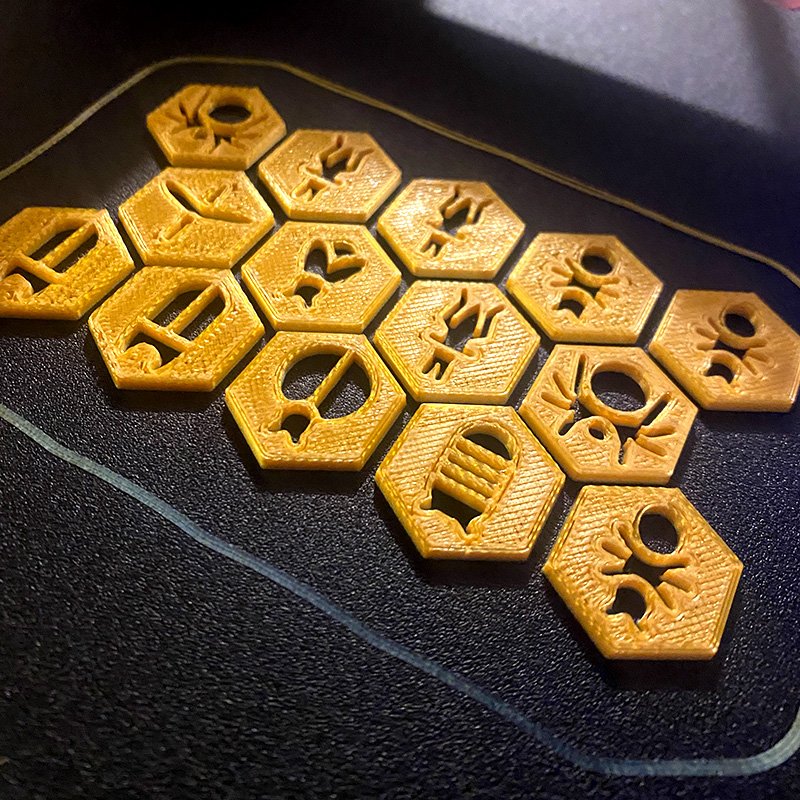
Here are some game pieces for a version of the game "Hive". They're hot off the press.